SegM8
A seven-segment display with integrated logic & power circuit that is actually easy to use


LED digit display without hassle
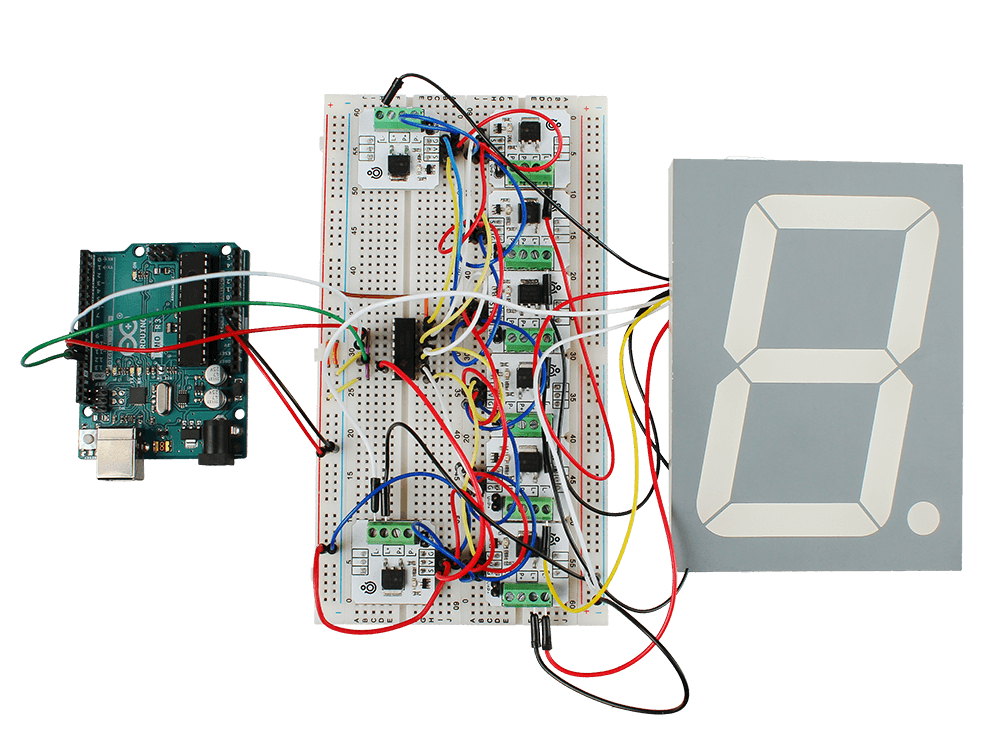
Do you want to create a fine-looking digital clock? Or maybe a lap timer for your competition? You can use any seven-segment displays for that. But wait, you need two wires for every segment, including the dot. That makes 16 wires, 8 pins of your controller, and lots of soldering. And that’s just for a single indicator. Hmmm...
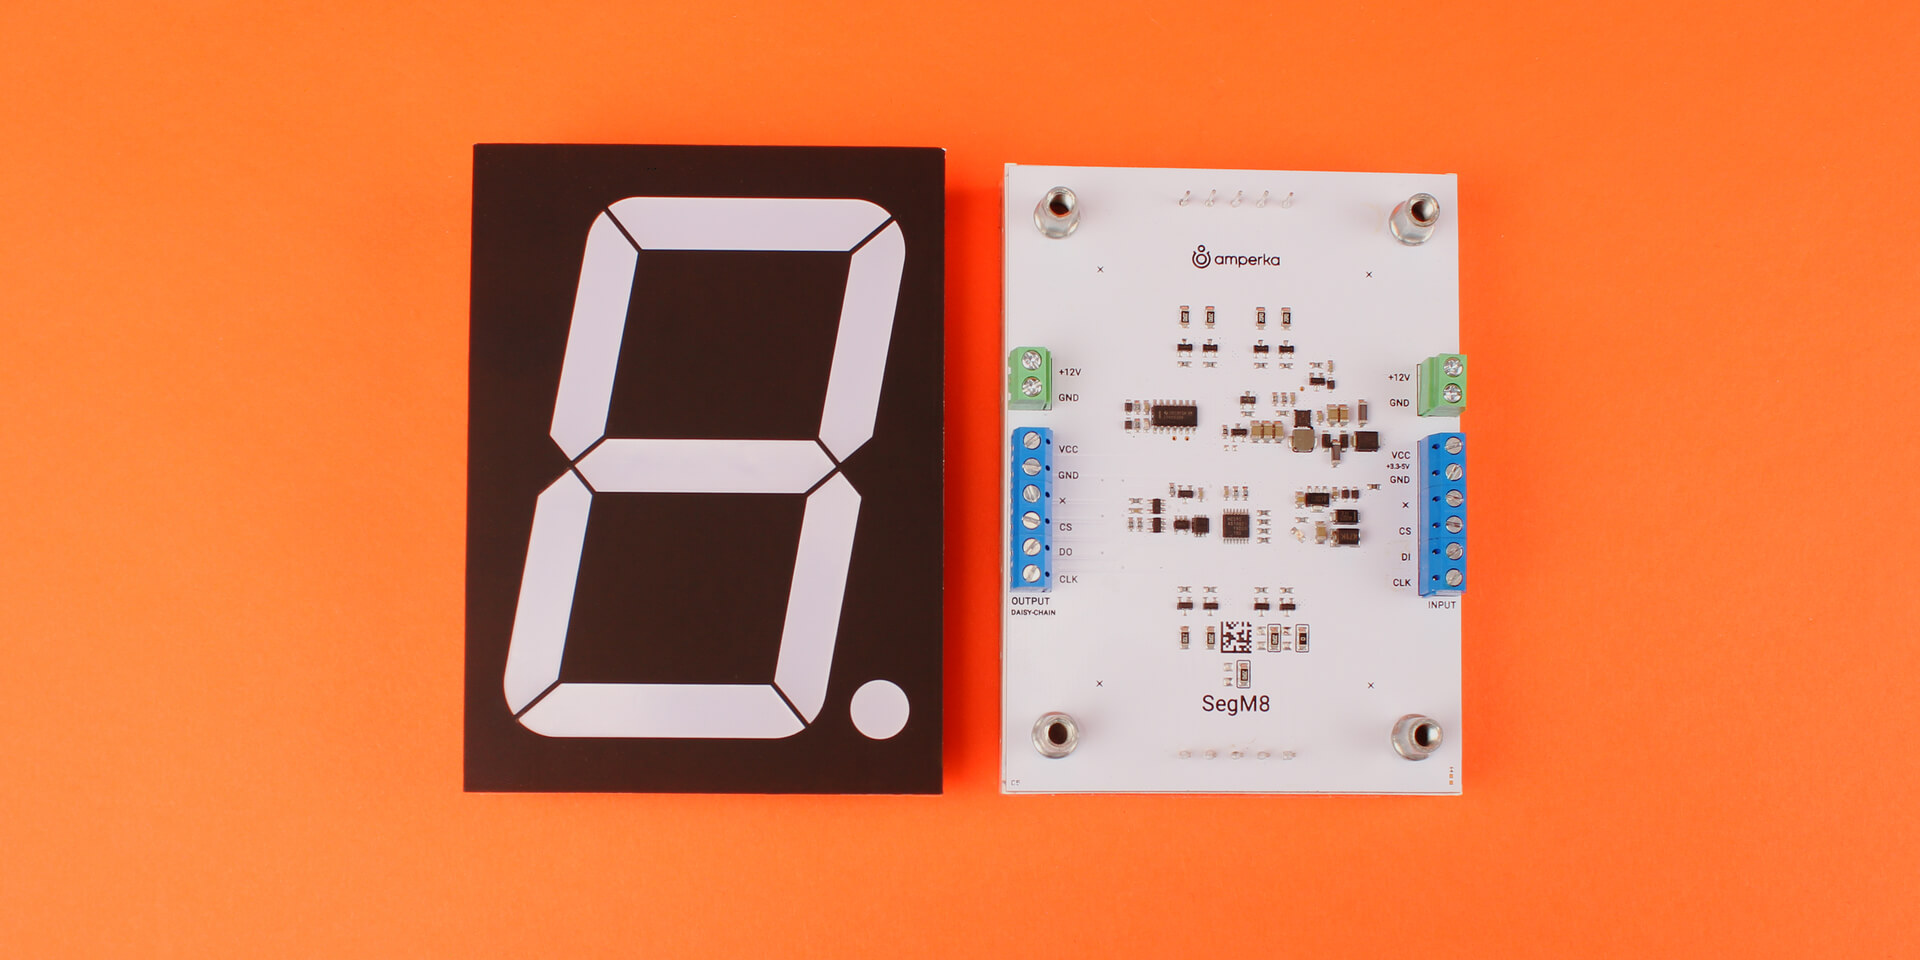
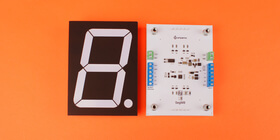
Fortunately, you can use our SegM8 module. It is an indicator and driver board in a single device. Control any number of these modules using only three signal wires via SPI.

Daisy-chain modules to make bazillion digit display
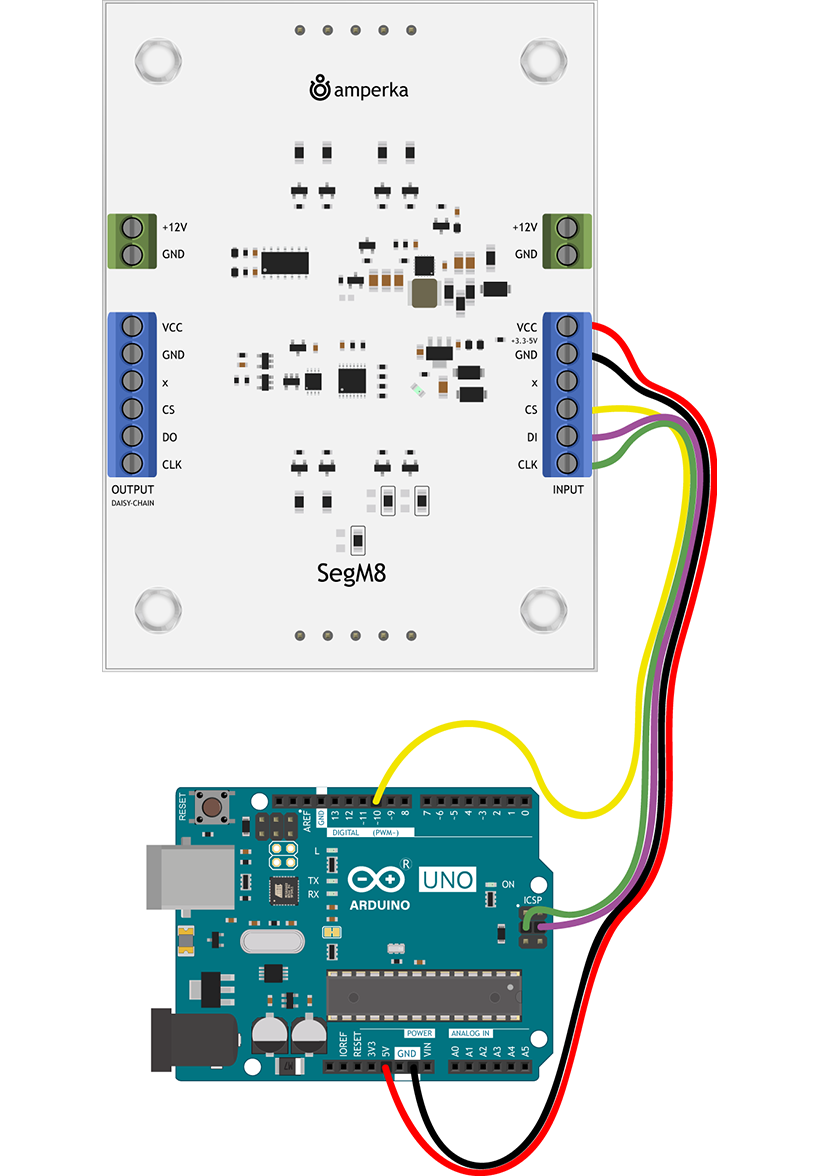
A SegM8 module has two pin groups at the edges, one for input and one for output. Connect modules with regular pin header connectors or wires and get a single device of numerous modules that still uses only three controller pins. SPI has no feasible restrictions on the number of devices, so you can connect dozens of SegM8 modules if needed. The public debt of some countries would definitely fit in.
Full and eco power modes
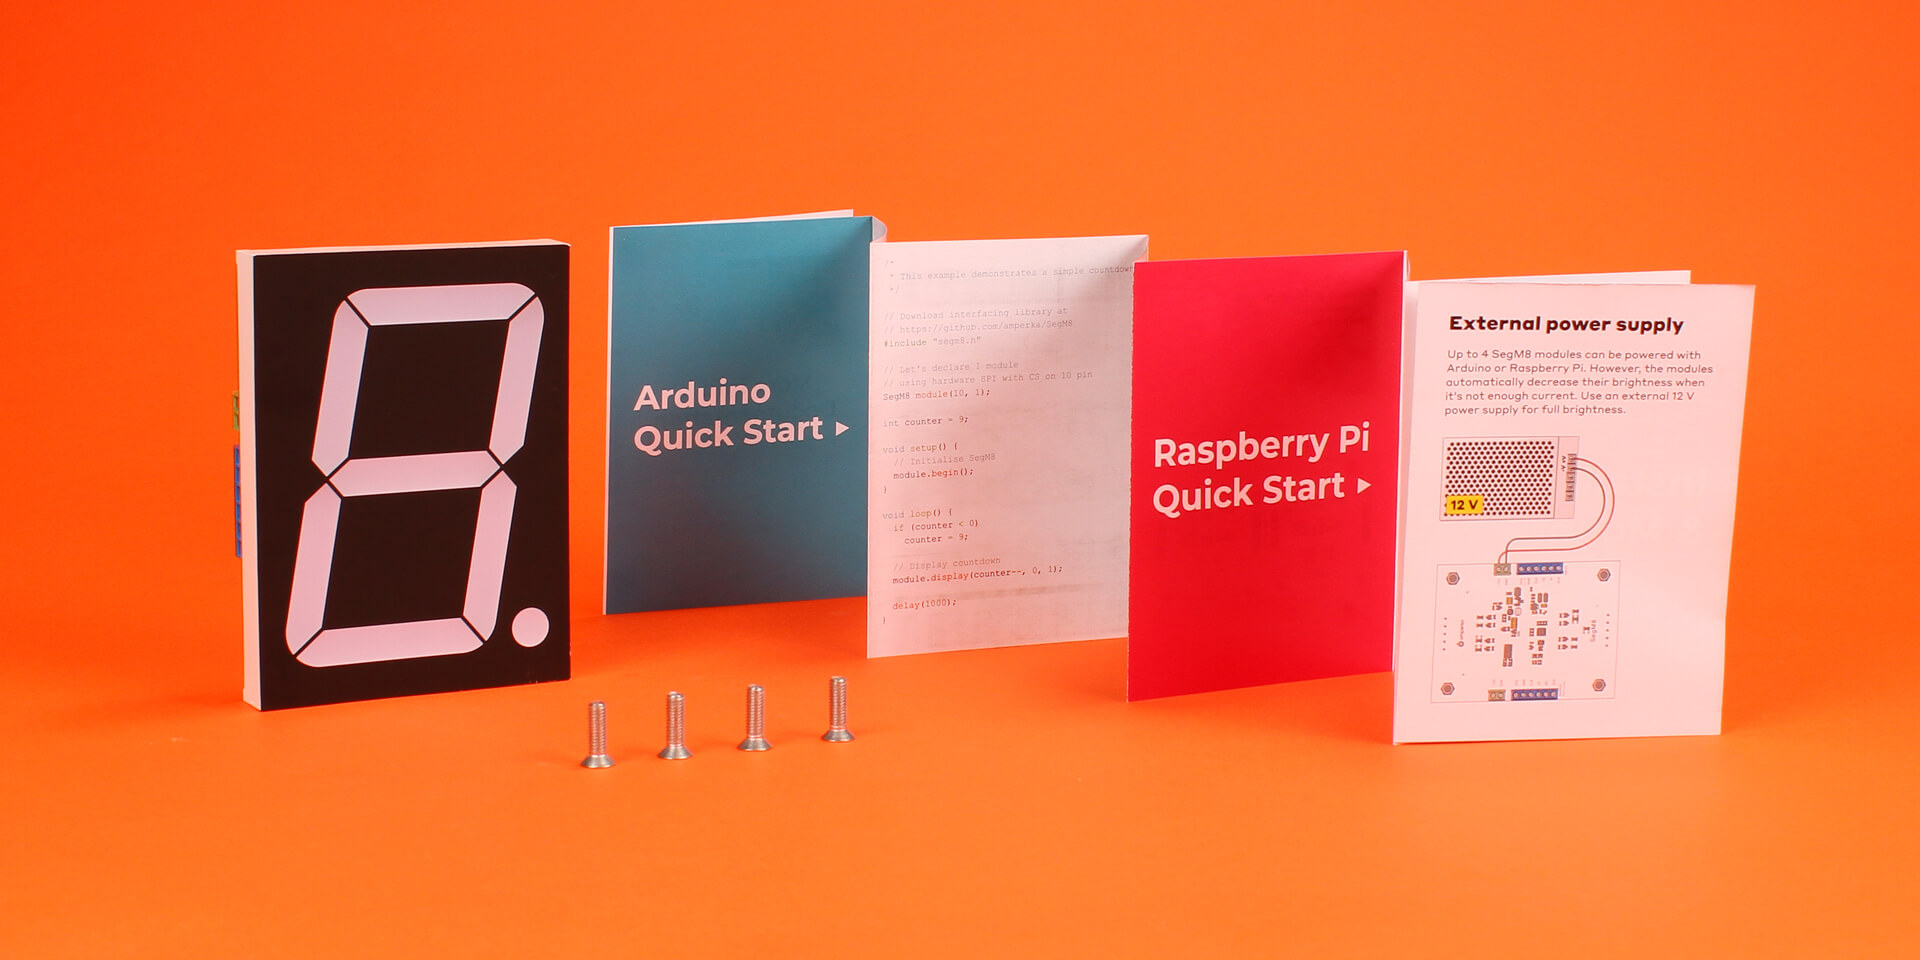
While developing and testing your apparatus, you can find it inconvenient to use an external power supply all the time. Good news! The modules automatically dim their brightness when it’s not enough current. So you can run up to four SegM8s with a few hundred milliamps that Arduino or Raspberry Pi can deliver on their own.
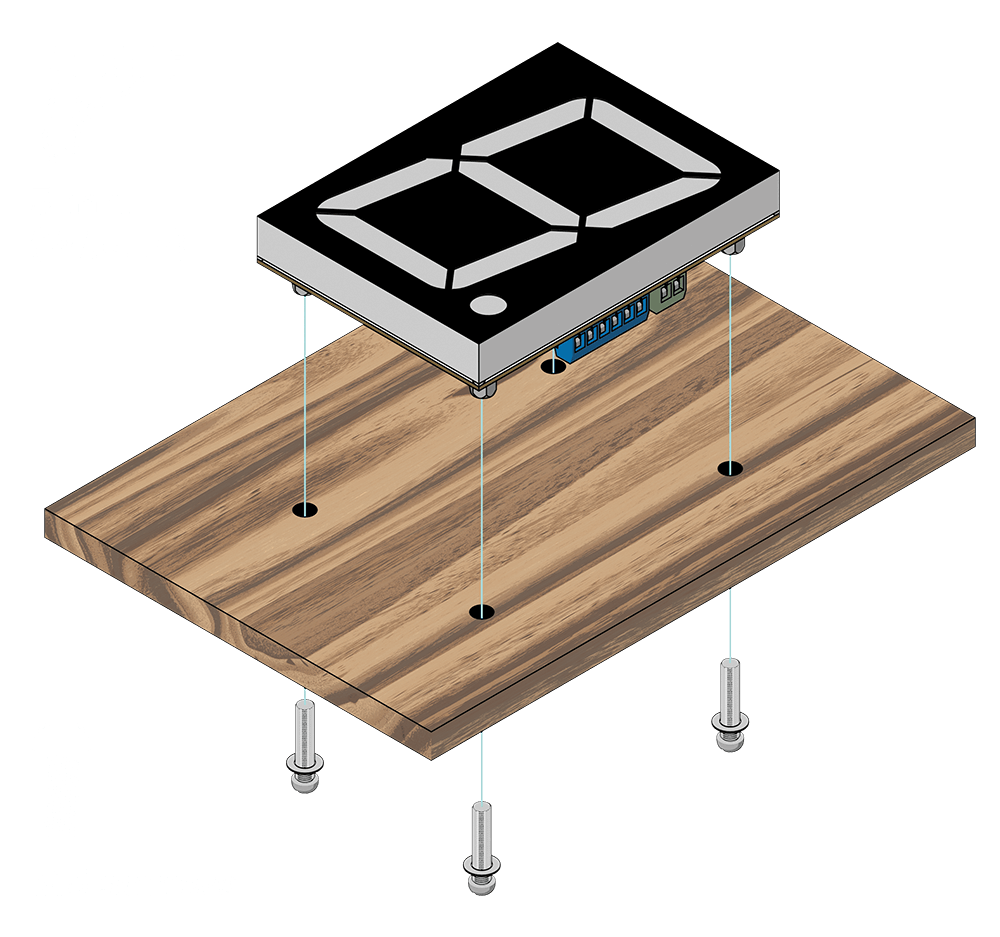
Easy mounting
There are four screw holes on the backside of the module and four M5 screws included. Just make mating holes wherever you want to place your nice digital device and screw it all in.
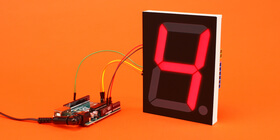
SegM8 is compatible to (but not limited to) Arduino Uno, Nano, Mega 2560, Pro Mini, and their analogs. It only requires the SPI bus and works with any voltage between 3.3 and 5 volts. So in fact it is compatible with the vast majority of DIY-controllers on the market.
We prepared a ready-to-use library for Arduino with quickstart examples.
Here’s a sneak peak:
// This example demonstrates a simple countdown
// Download interfacing library at
// https://github.com/amperka/SegM8
#include "segm8.h"
// Let's declare 1 module
// using hardware SPI with CS on 10 pin
SegM8 module(10, 1);
int counter = 9;
void setup() {
// Initialise SegM8
module.begin();
}
void loop() {
if (counter < 0)
counter = 9;
// Display countdown
module.display(counter--, 0, 1);
delay(1000);
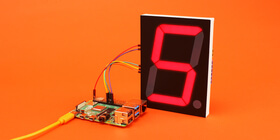
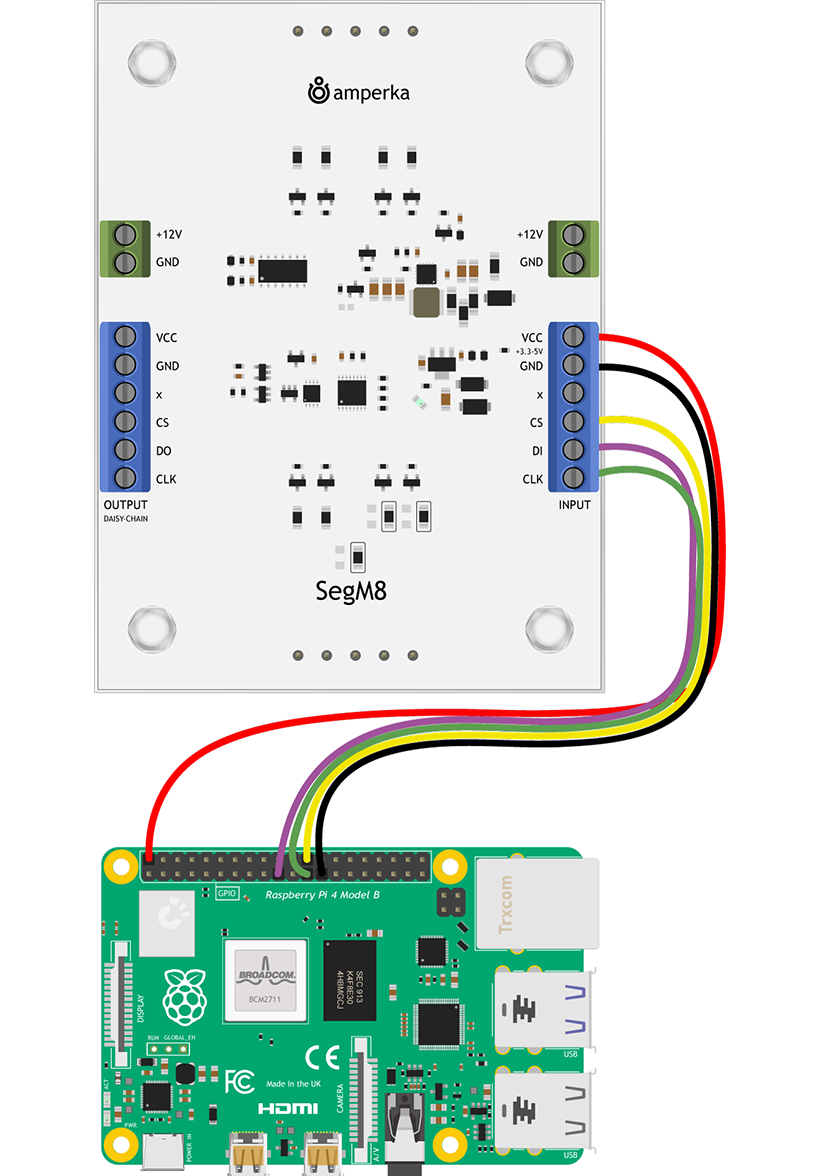
}SegM8 works fine with Raspberry Pi. We have a Python library for it, which can be found along with documentation on GitHub.
Here’s how it feels:
import time
import segm8
# Create an object for working
# with the Segm8 module.
segm8_module = segm8.SegM8(0, 1)
# Display numbers from 0 to 9.
for number in range(10):
segm8_module.display_int(number, 0, 1)
time.sleep(1)
# Clear all segments of the module.
segm8_module.clear()
time.sleep(1)
message = "End"
# Display each letter in the message.
for letter in message:
segm8_module.display_string(letter, 0, 1)
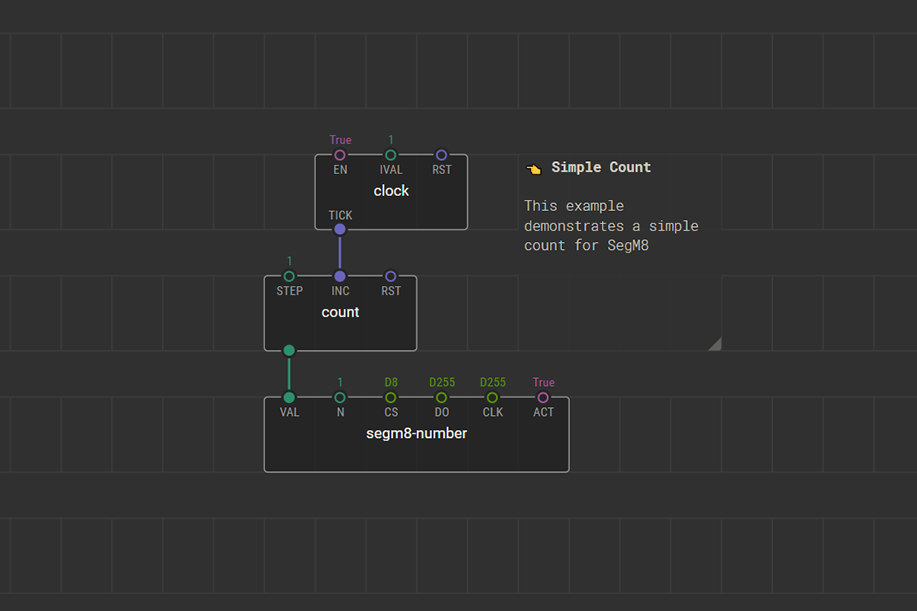
time.sleep(1)XOD visual programming language supports SegM8 as well. We have published a library that provides a few nodes to interface with SegM8.
Here’s how a simple counter looks like:

RoHS compliant
SegM8 does not contain lead, so it is safe for children. It also won’t poison the rivers one day it would be wasted.


Specifications
- Electrical Characteristics
- Rated Voltage: 5–12 V
- Eco-mode Voltage: 3.3–5 V
- Supply Current: ≤300 mA
- Eco-mode Supply Current: ≤50 mA
- Design
- Interface: SPI
- Indicator: SA40-19 / SM434001D
- Indicator Driver: 74HC595
- Mechanical Characteristics
- Dimensions: 122 × 90 × 26.3 mm
- Weight: 260 g
- Connection: 0.2” terminal blocks
- Mounting: M5 screw holes